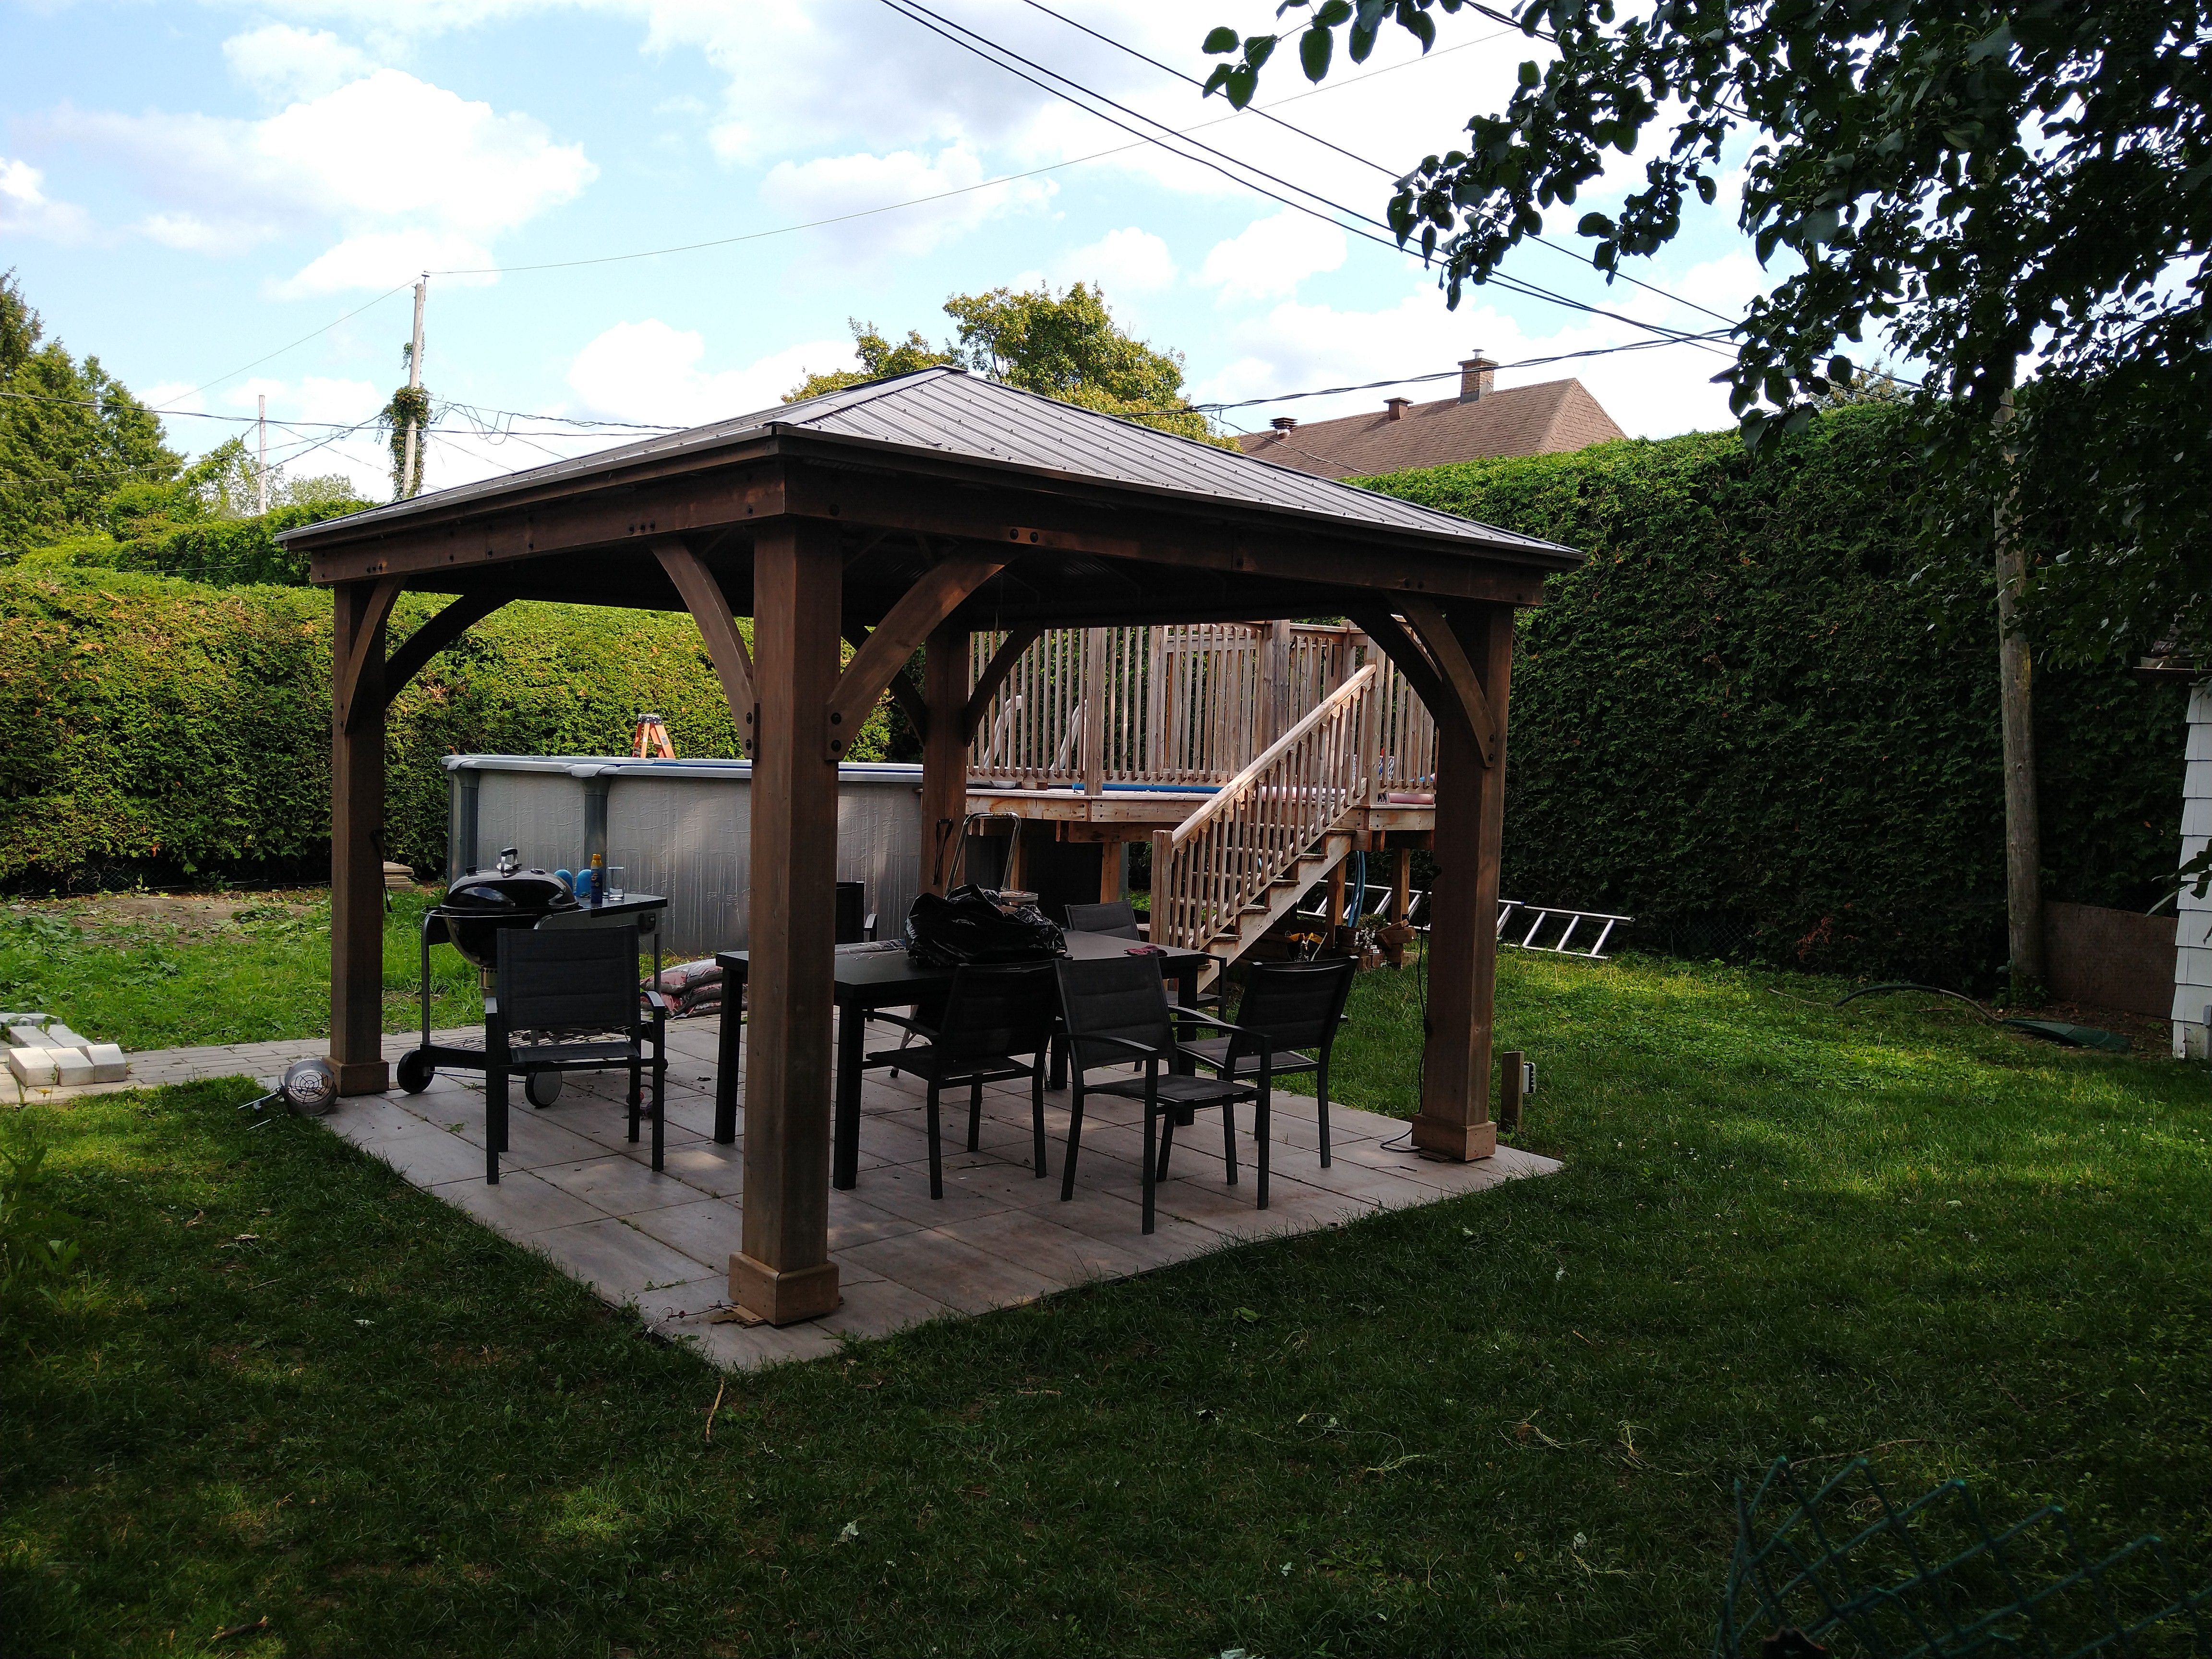
Figure 1: Picture of my backyard, with a gazebo sitting on a pavers patio
Published on 2024-07-28
Edited on 2024-08-04
Categories:
diy
Tags:
pavers
landscape
Story and some info about how I fixed some pavers installation miscalculations.
This post has nothing to do with computers, but everything to do with learning, and building things, skills quite related to coding and computers.
Some time ago, I built a large pavers patio to put a dining table and gazebo.
Here is the initial work:
Figure 1: Picture of my backyard, with a gazebo sitting on a pavers patio
At the far back of the picture, we can see a sidewalk. That sidewalk connects the pool deck, the patio, and stairs that goes in the house.
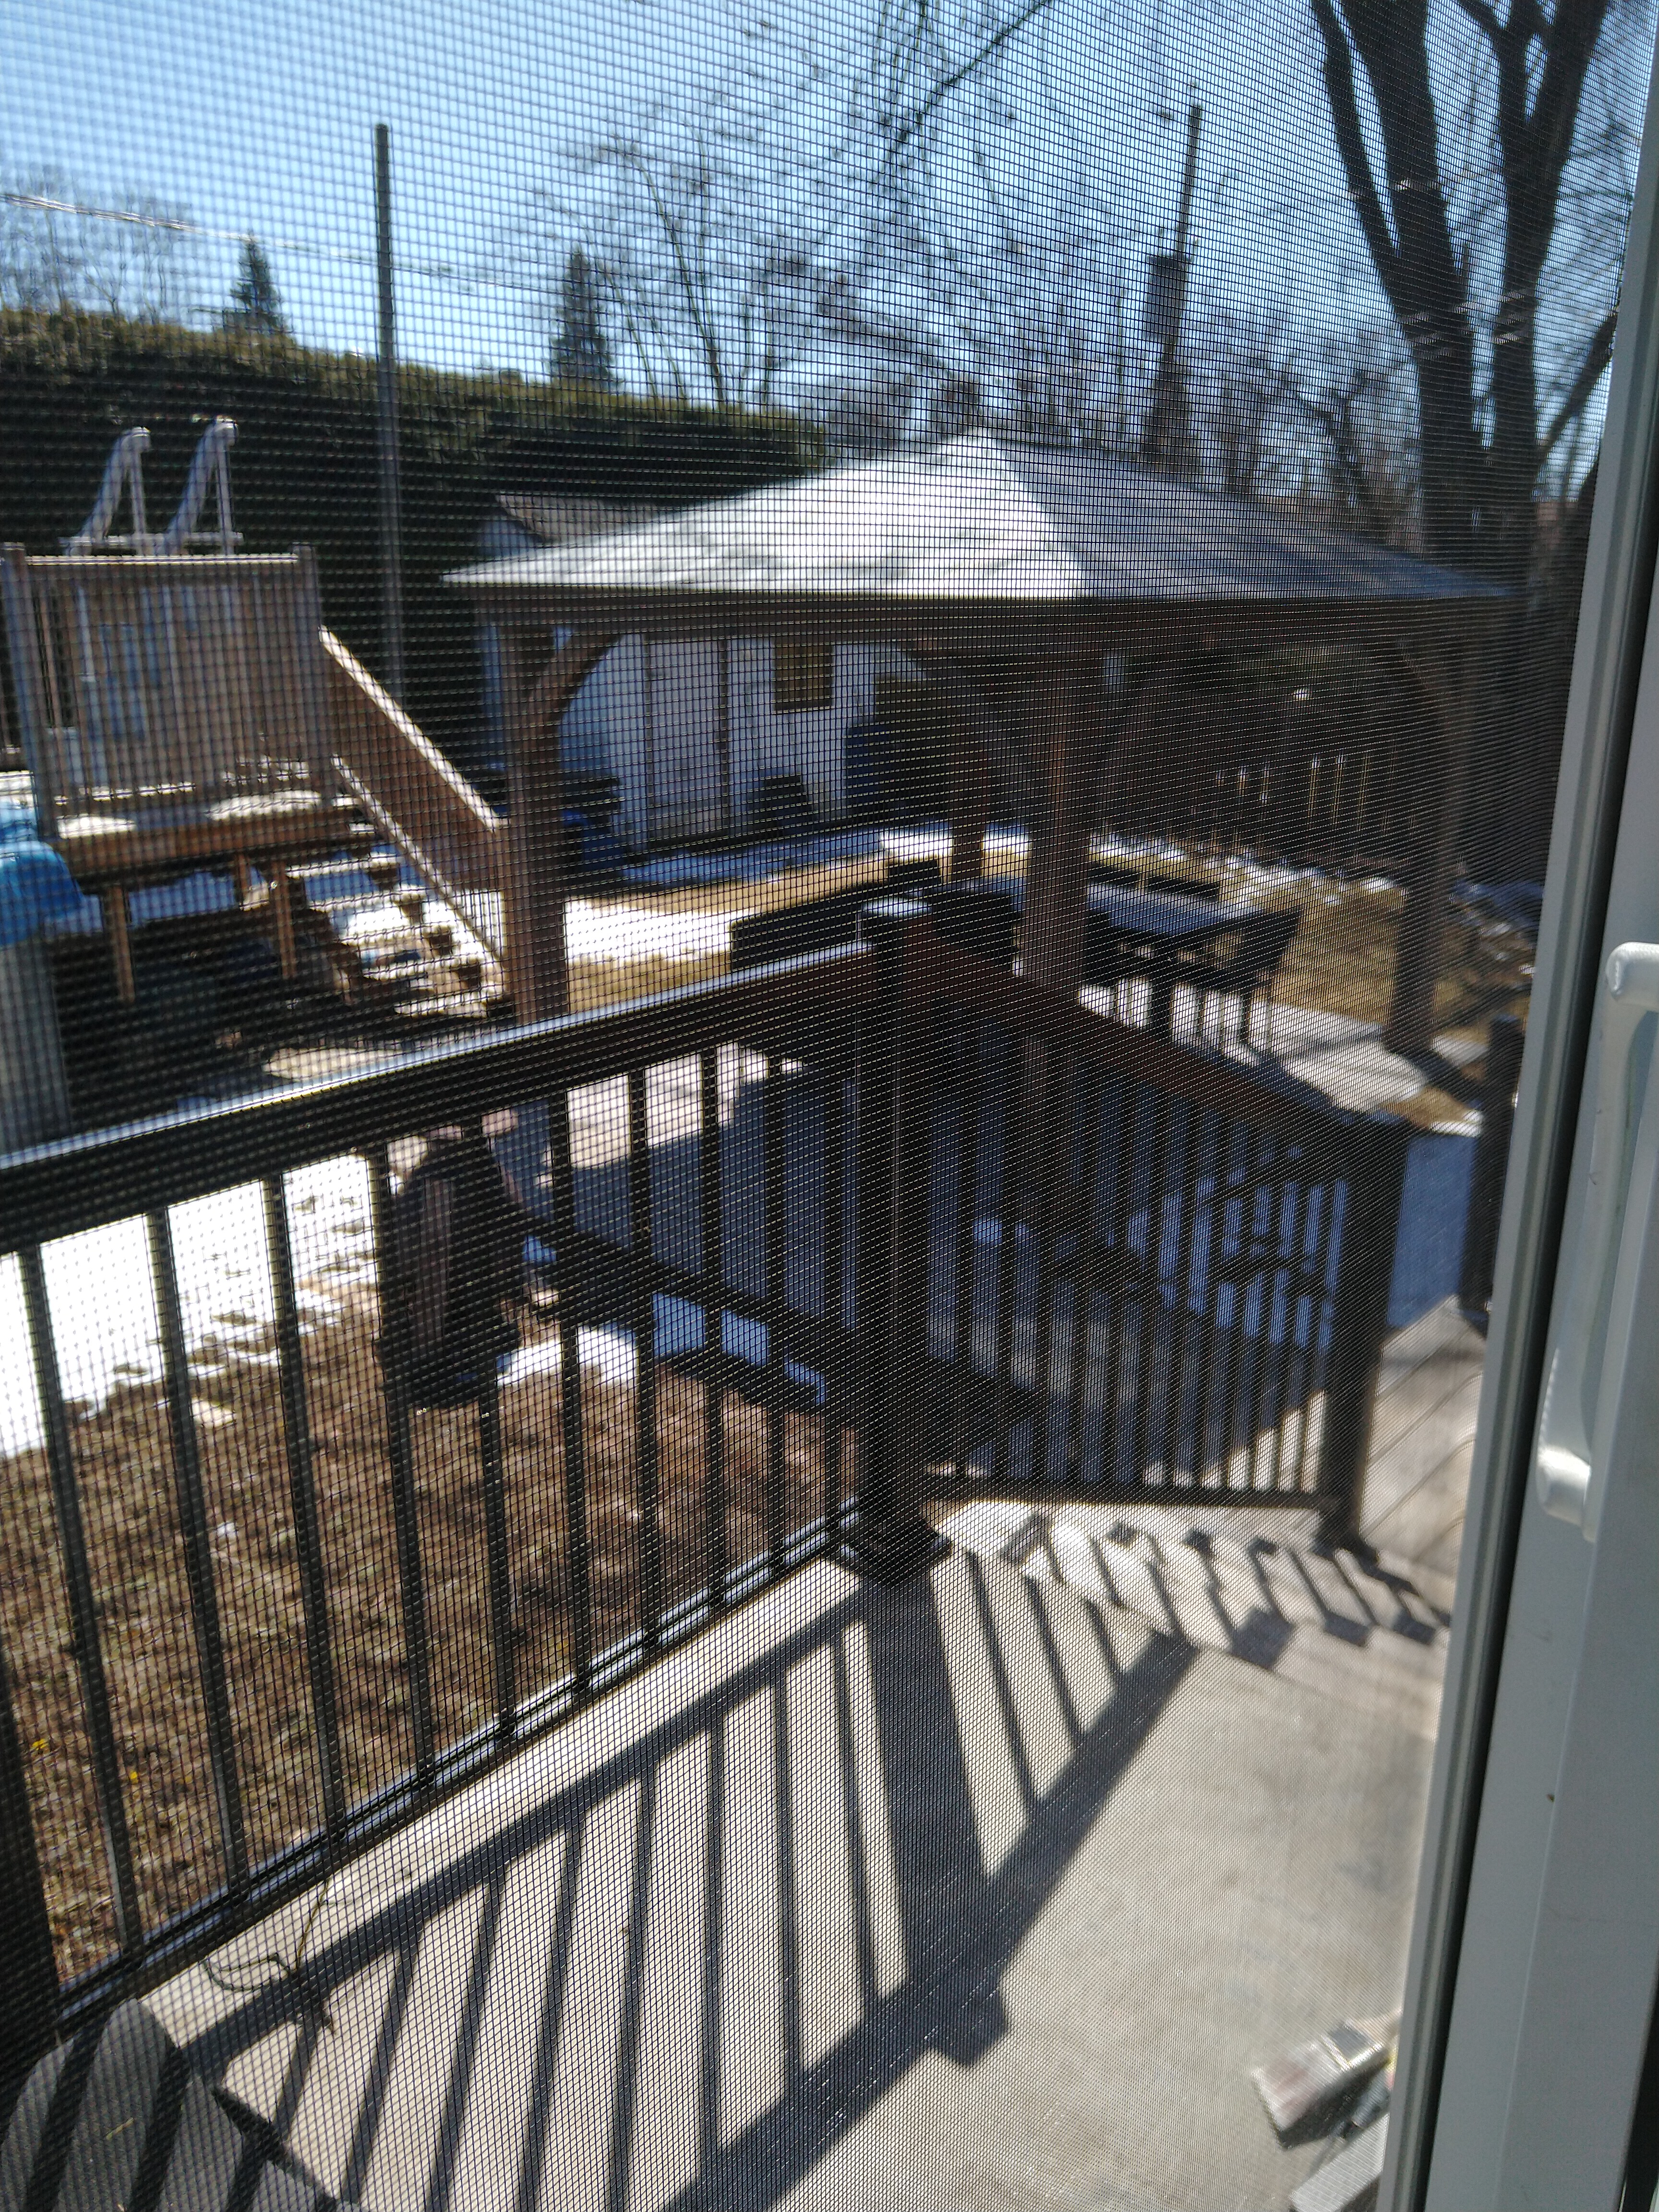
Figure 2: another angle of the backyard
So what is the problem?
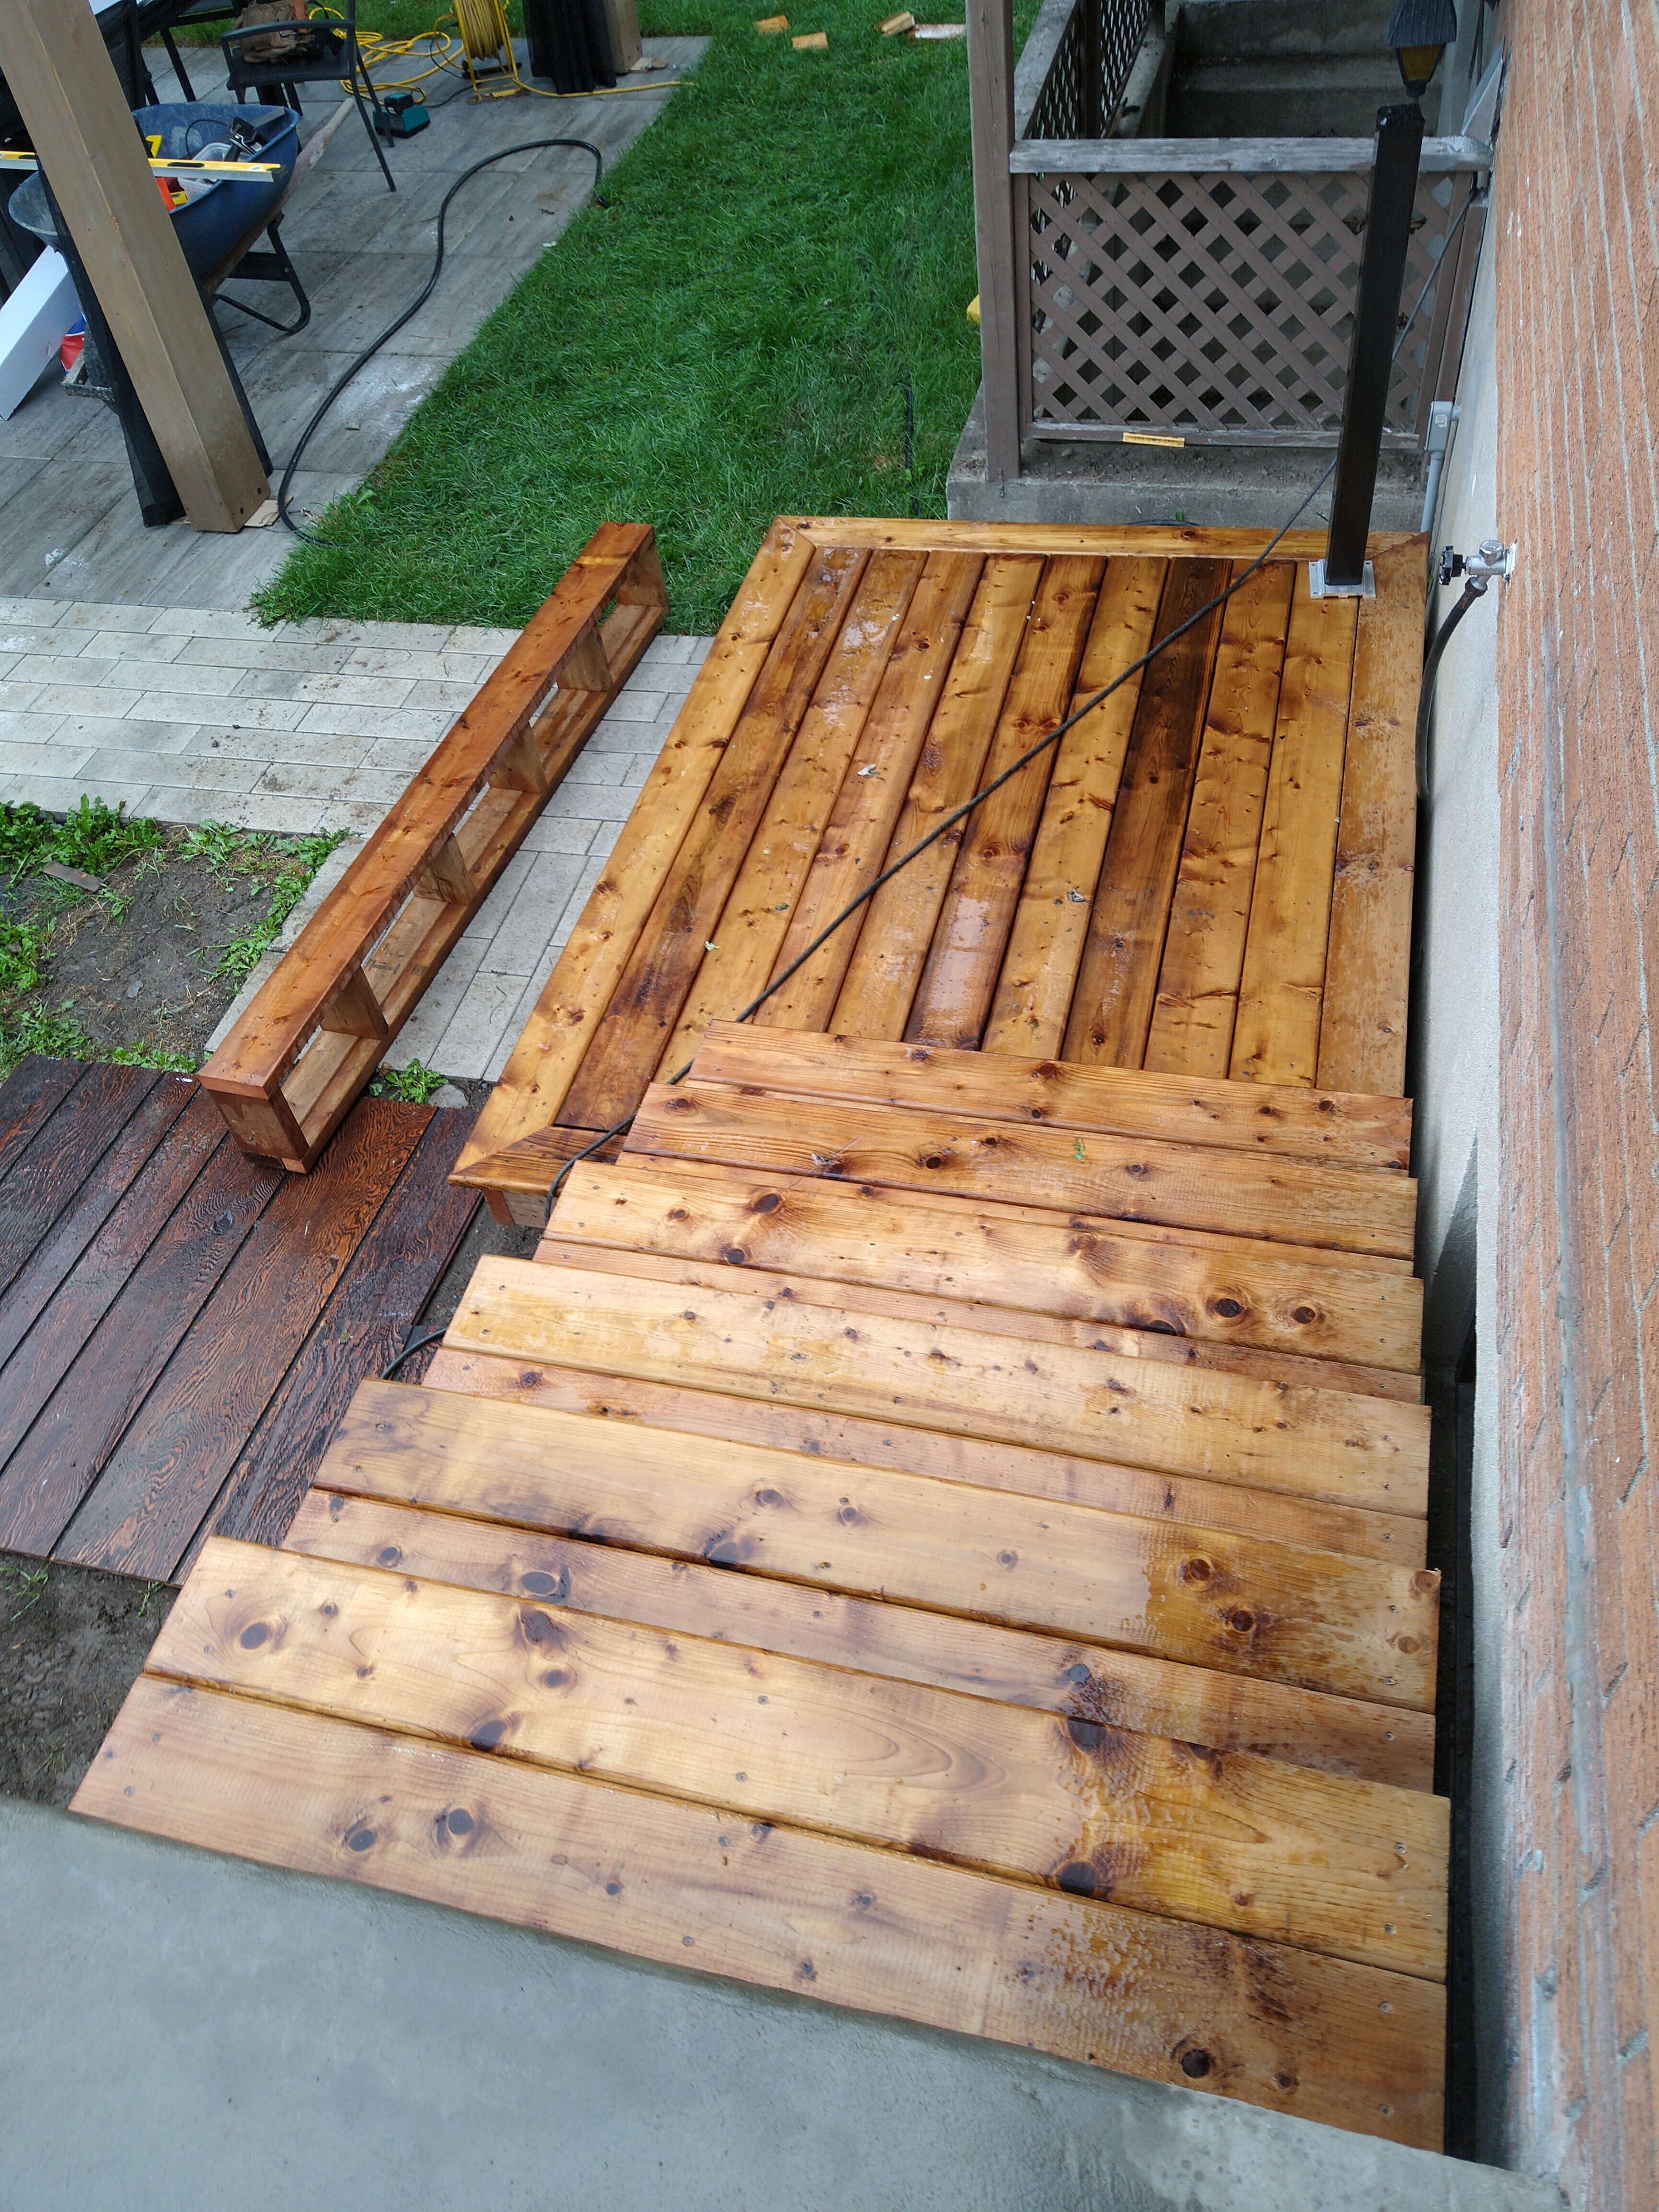
Figure 3: picture showing the sidewalk, and the stairs with visil
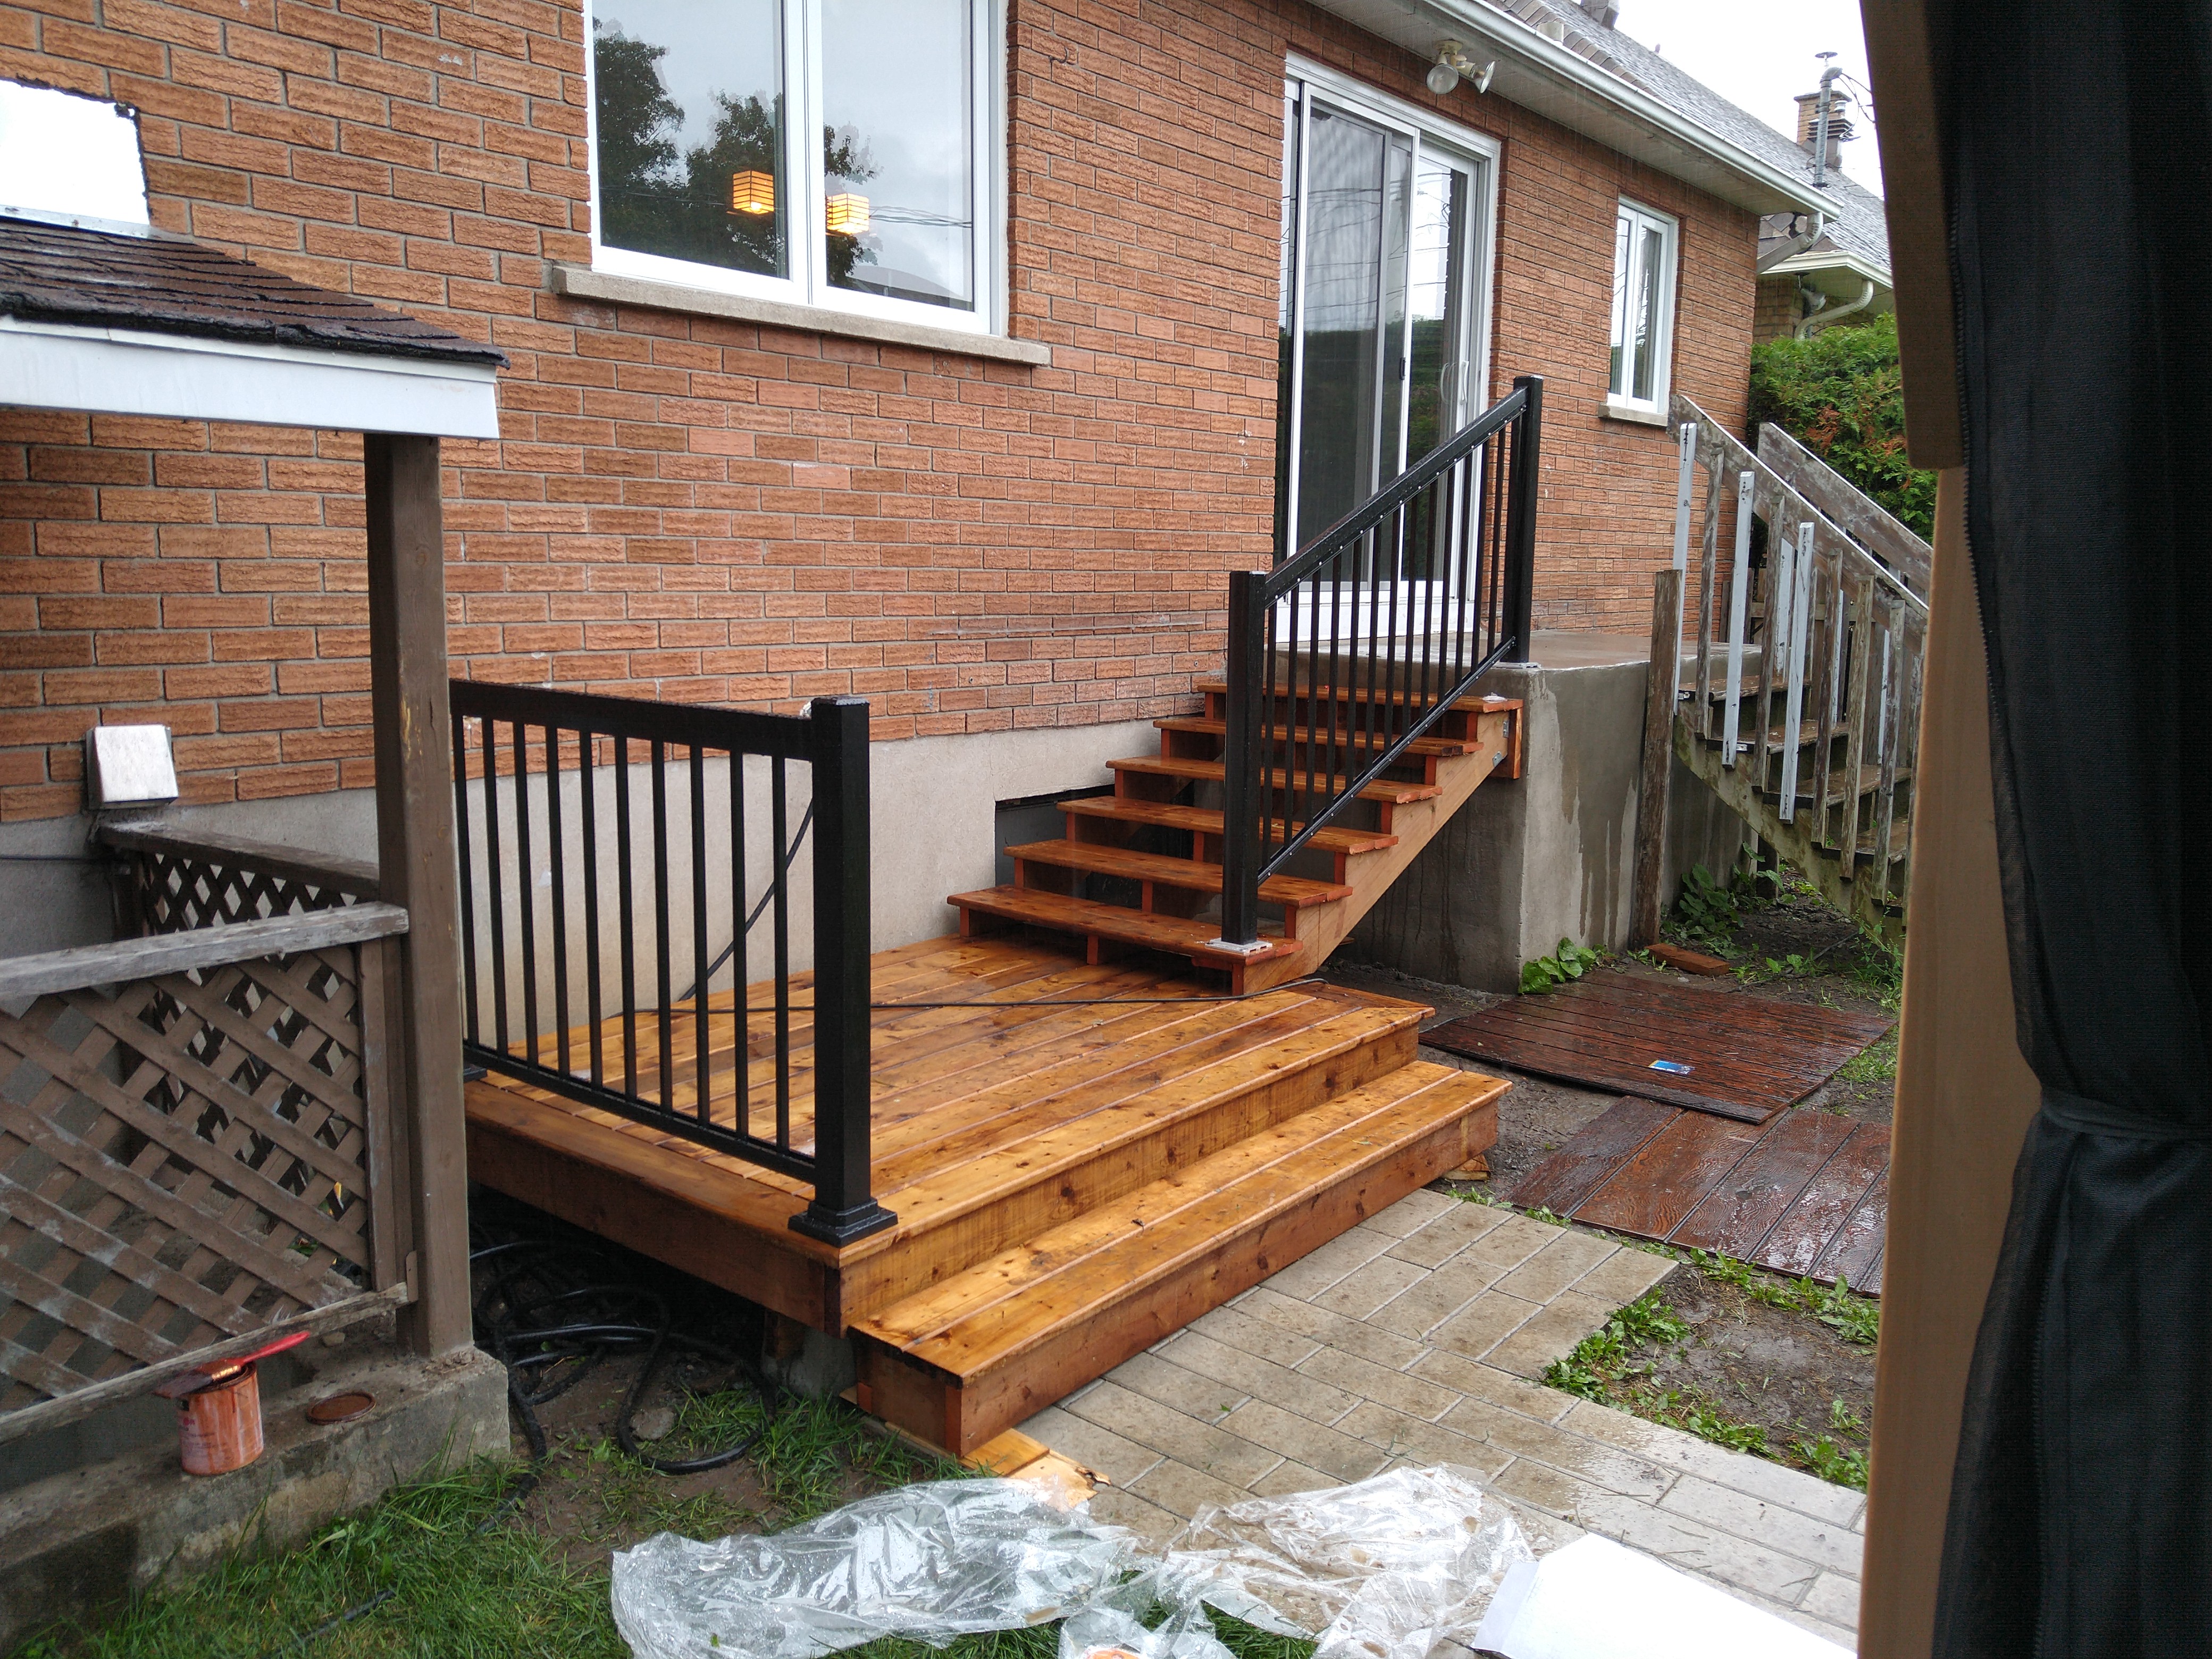
Figure 4: another picture showing the sidewalk, and the stairs with visible miscalculations
Two miscalculations:
So last Sunday, was searching for something to do, I remembered another incomplete house crafting project: fixing that pavers sidewalk.
Armed with my shovel, a rake, my rototiller, a manual tamper, gravel, extra pavers, and some sand, I just fixed that problem.
Like many things, the base is the most important part. Usually you dig for a base of 6 to 12 inches, put some geo-textile material to prevent weeds to establish, build the base with gravel in layers tampering it regularly, build a much finer top 1/2 inch layer to put the pavers on, install the pavers, then tamper them again to lay them solid, put sand in the voids between the pavers, wash, and voila.
In this particular project, the challenge is to line the older part with the new part. also, because the older part was tampered with a mechanical vibration plate, it is much more solid, so the new part will sink a bit.
Here is the final result after 3 hours of work, you can see in the picture now there are always 7 rows of pavers visible, and the stairs sit on pavers for the full length:
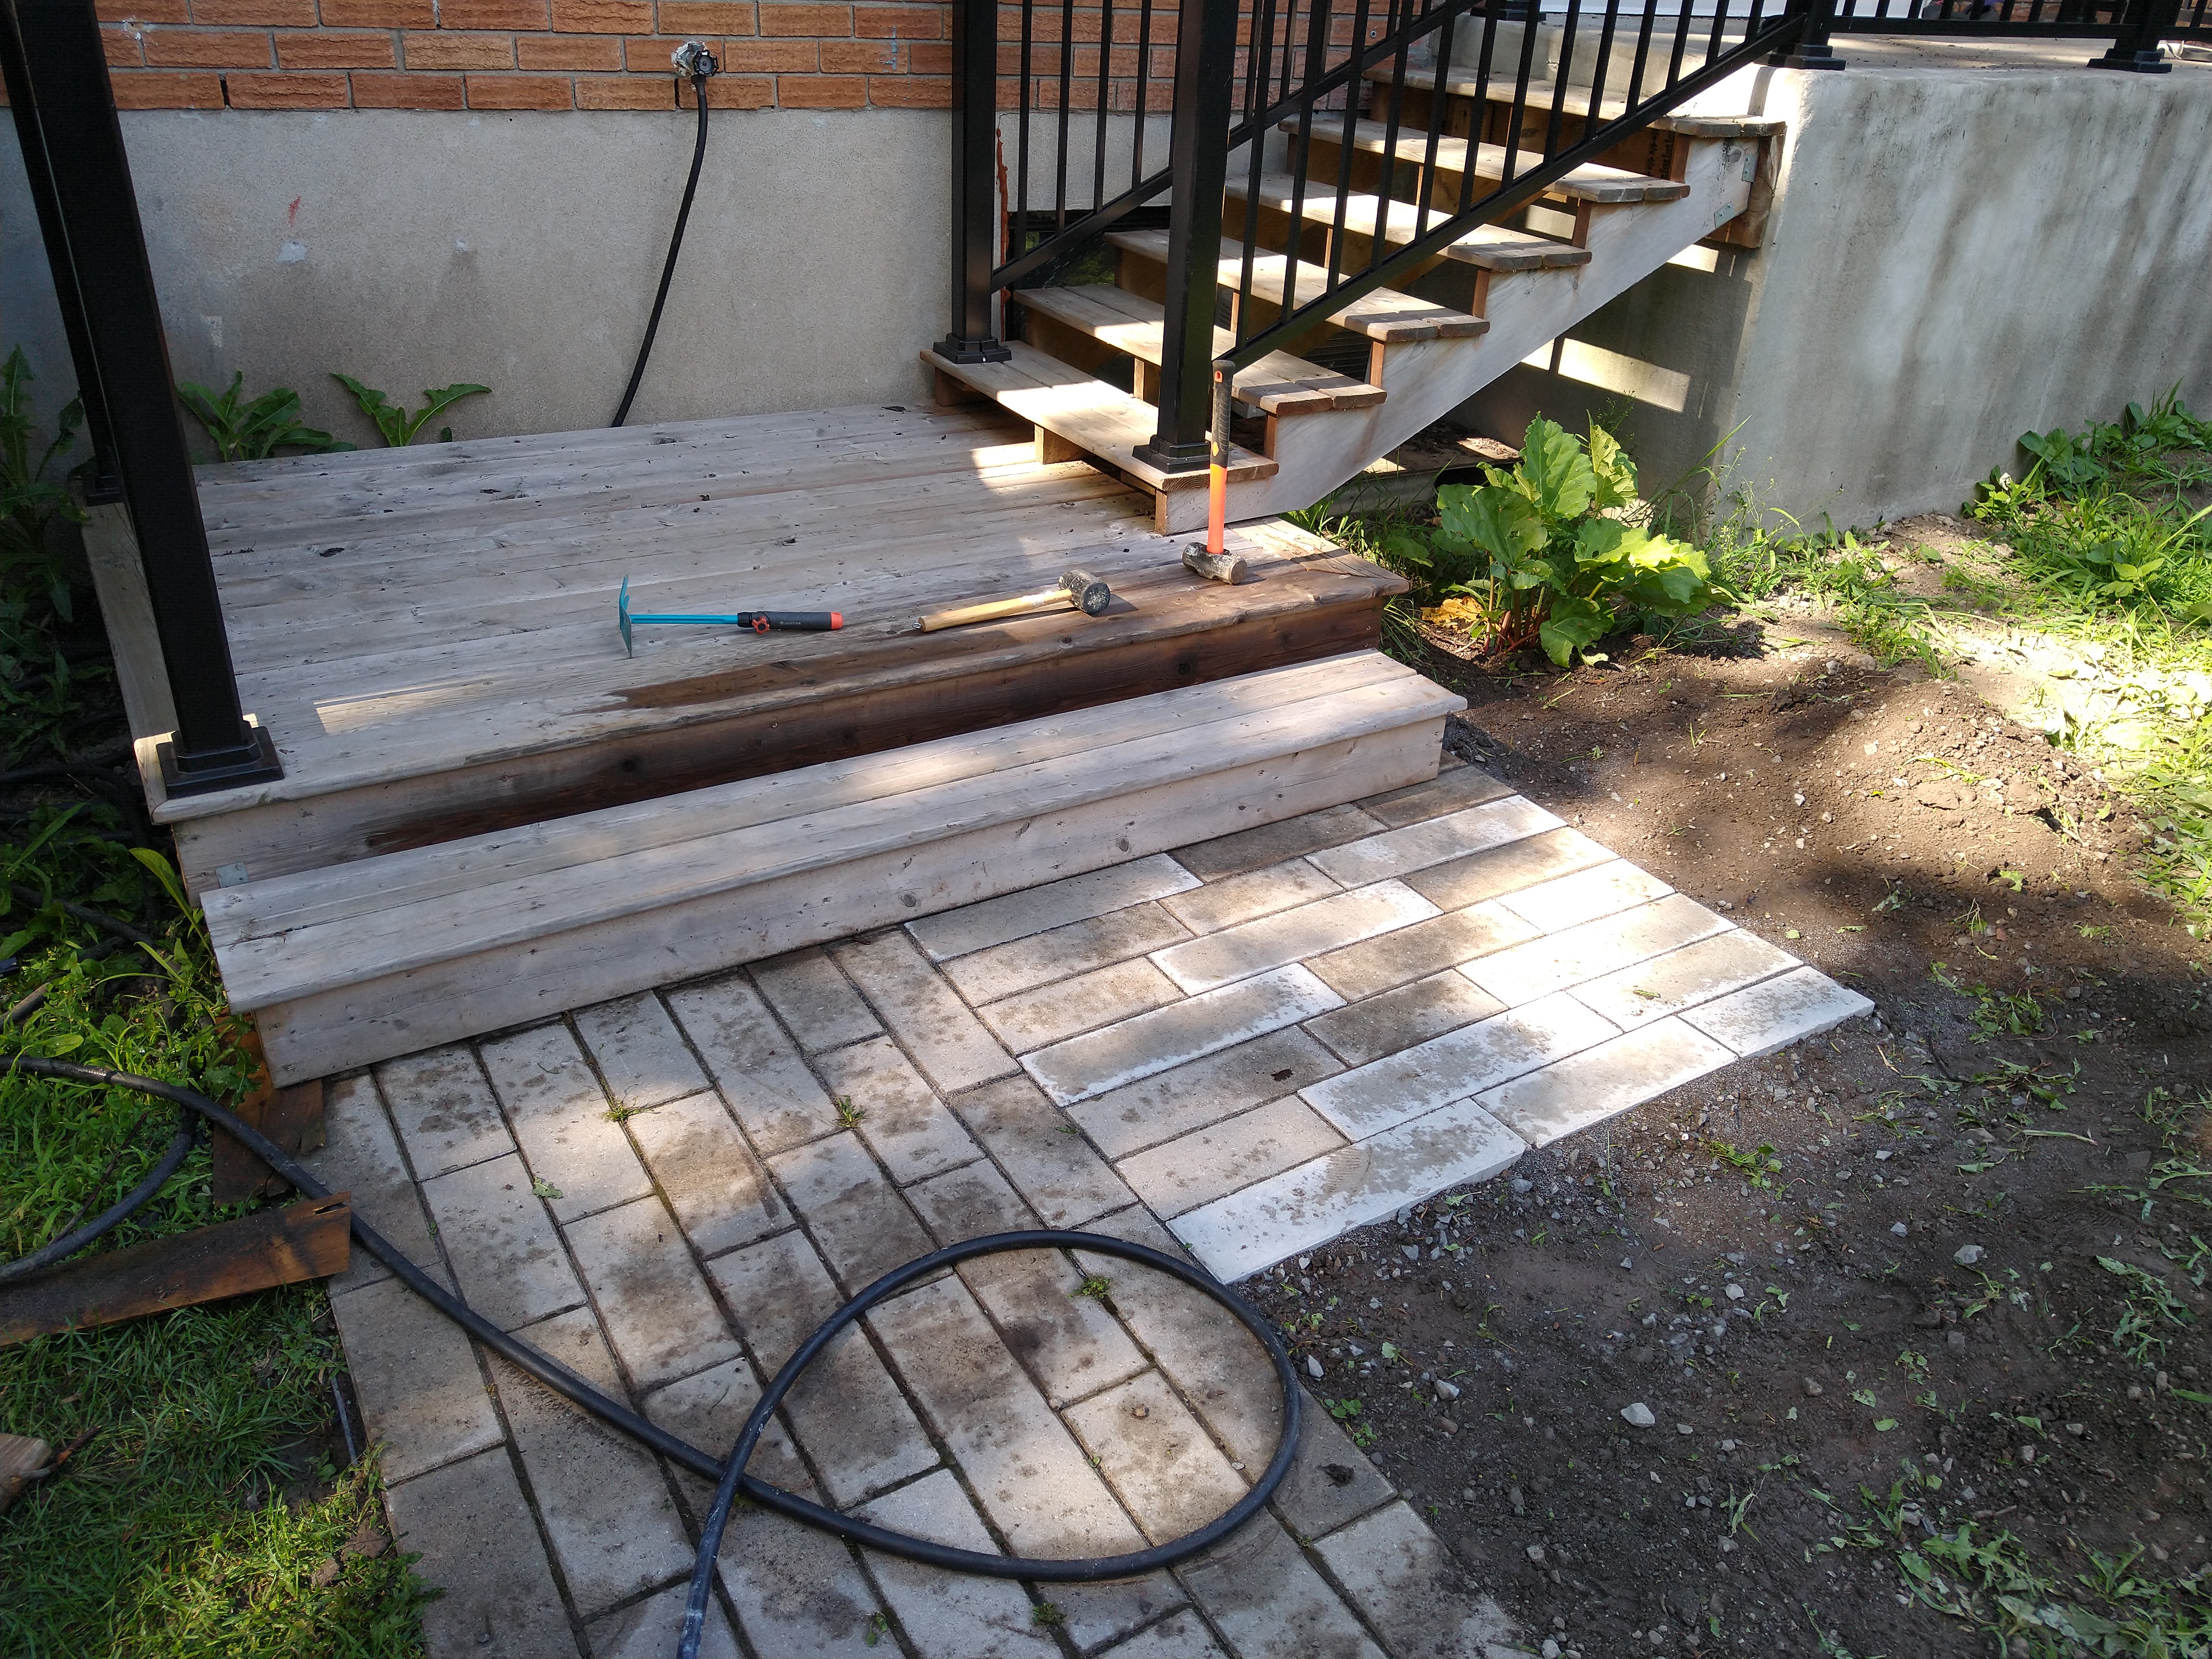
Figure 5: picture of the final result, showing pavers sidewalk and the stairs sitting on it properly.
This was one of many small projects / improvements I had on my list.
Often we think the main ingredient to do home crafting projects is time, in my case it’s usually focusing on something that we stopped seeing.
Last year, my partner and I made a list of things around the house that needed refresh, fixing, or completion, and I’m kind of refusing to start new cool stuff before the list is done.
For comments, use email or Mastodon
Don't forget to subscribe to my RSS feed!